
Backrest: A Tool That Makes Backup Simple and Fun
Have you ever experienced this: your computer suddenly crashes, and all your important files are gone; or you accidentally deleted files and want to recover them but realize you didn't back them up? Are you intimidated by those complicated command lines every time you think about backing up?
Backrest, it gives the powerful restic backup tool a beautiful web interface, making backups as easy as scrolling on TikTok.
1. What is Backrest?
Simply put, Backrest is a web-based backup management tool. It's based on restic (a powerful command-line backup software), but you don't need to remember any commands, you can handle everything with just a few clicks.
Key Advantages:
📱 Web interface, accessible on mobile phones and computers;
🔐 Automatic encryption ensures data security;
📅 Scheduled backups, and you can just set it and forget it;
💾 Supports various storage methods (local hard drive, cloud drive, cloud storage, etc.)
🔄 Incremental backups, only back up the updated parts, saving time and space;
📦 One-click recovery, making it super easy to retrieve files.
2. Example: Setting Up Your First Backup
After the application starts, first set an instance ID.
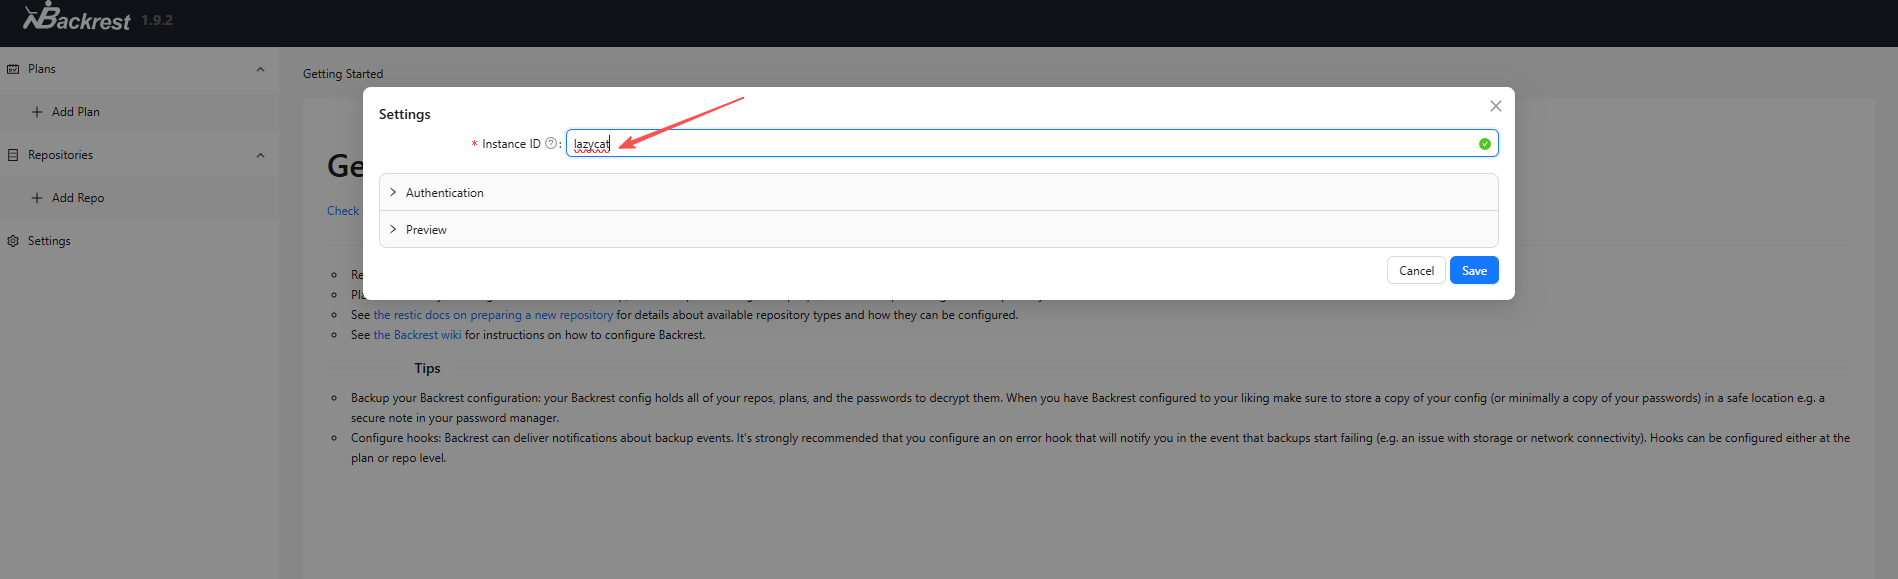
Step 1: Create a Backup Repository
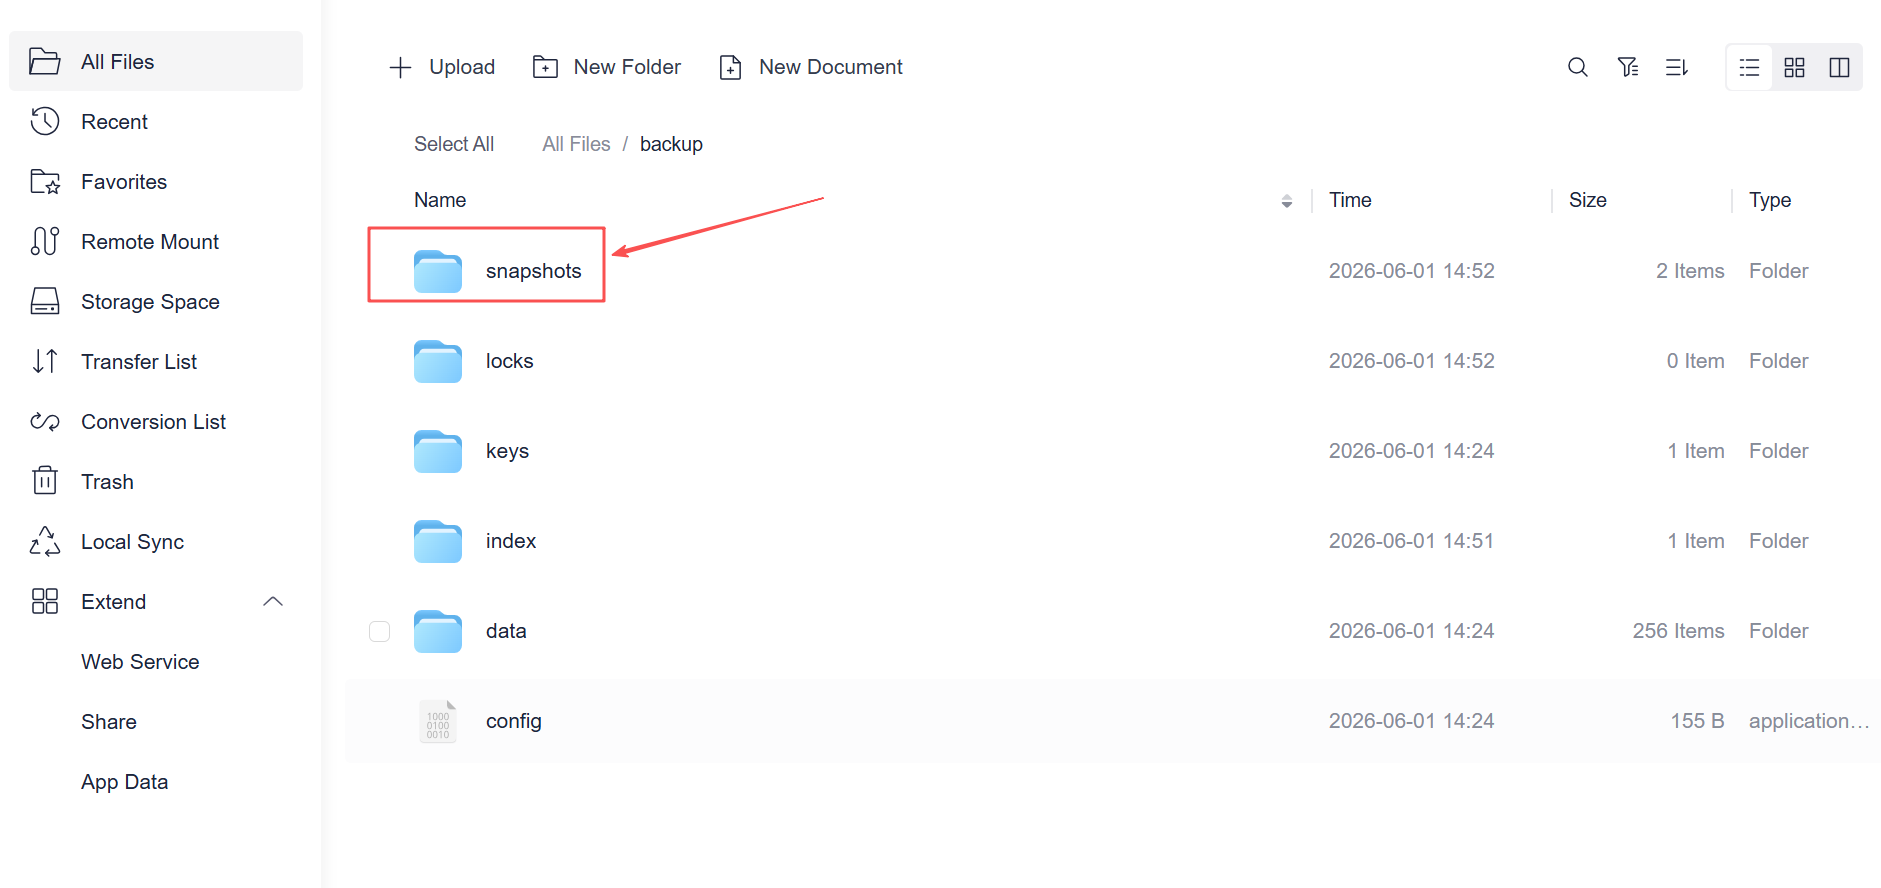
Click "Add Repo" on the left:
Repo Name: Give it a name, such as "local-nas-storage"
Repository URI: Select the storage location
If you are backing up to the LCMD Cloud Drive, you can refer to my path: /lzcapp/run/mnt/home/yourLazycatName/backup folder
Password: Click Generate to generate a password (Important! Be sure to save this password!)
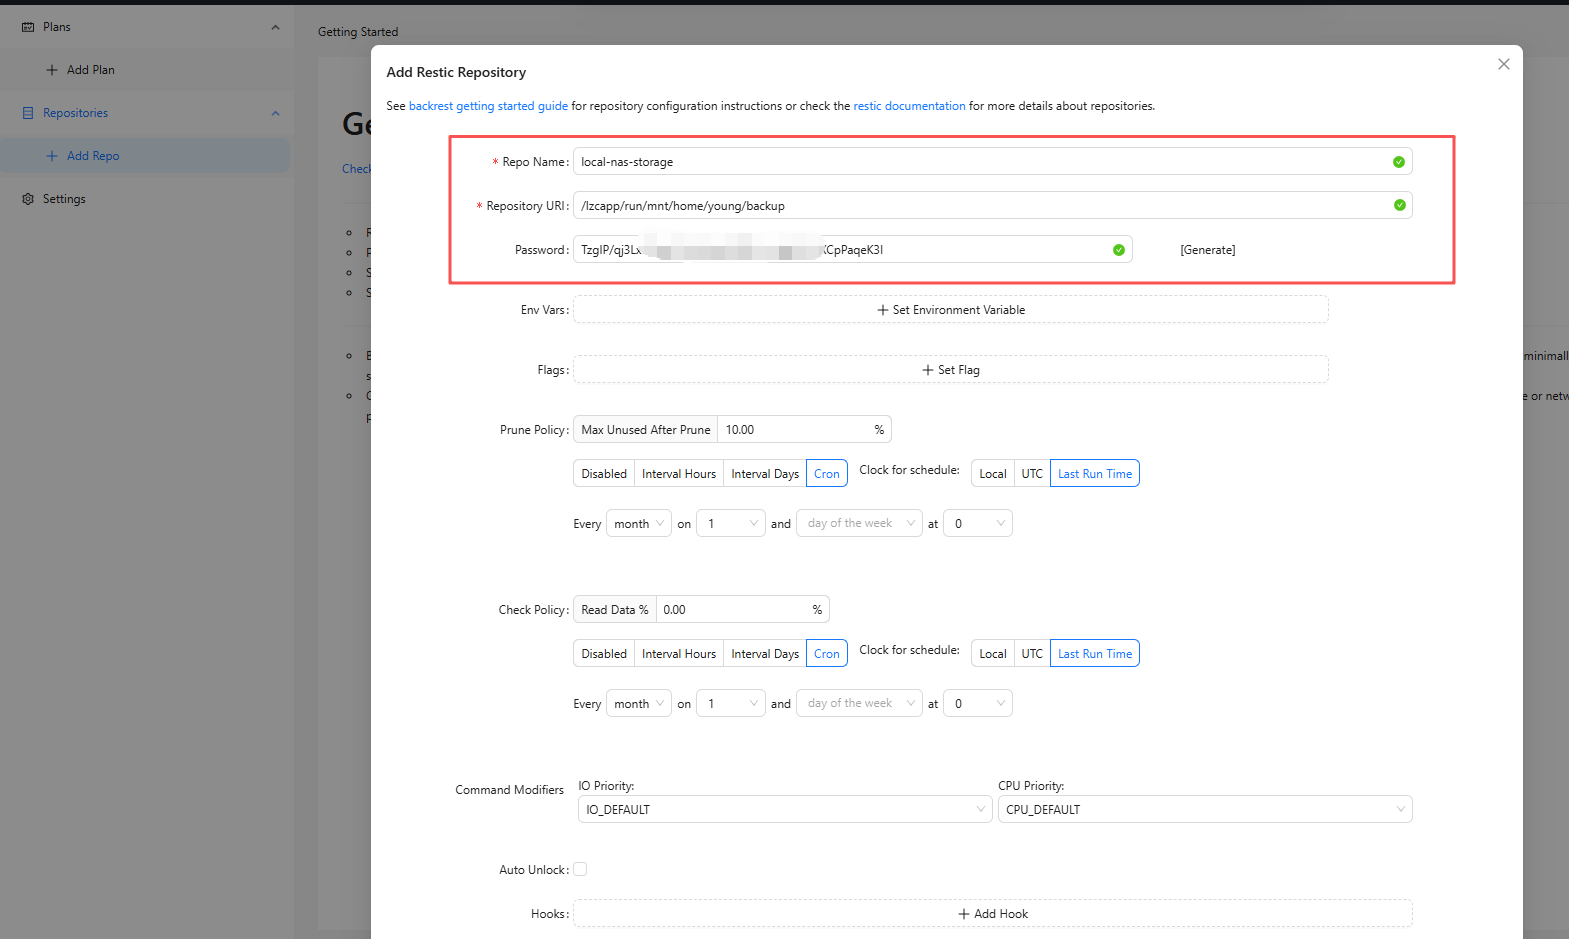
Prune Policy
Purpose: Configures when Backrest runs the prune command to clean up old or redundant backup snapshots.
Check Policy
Purpose: Configures when Backrest runs the check command to check the integrity of repository data.
After completing the configuration, you can click the Test Configuration button to verify that Backrest can successfully connect to your repository, and then click Submit to save.
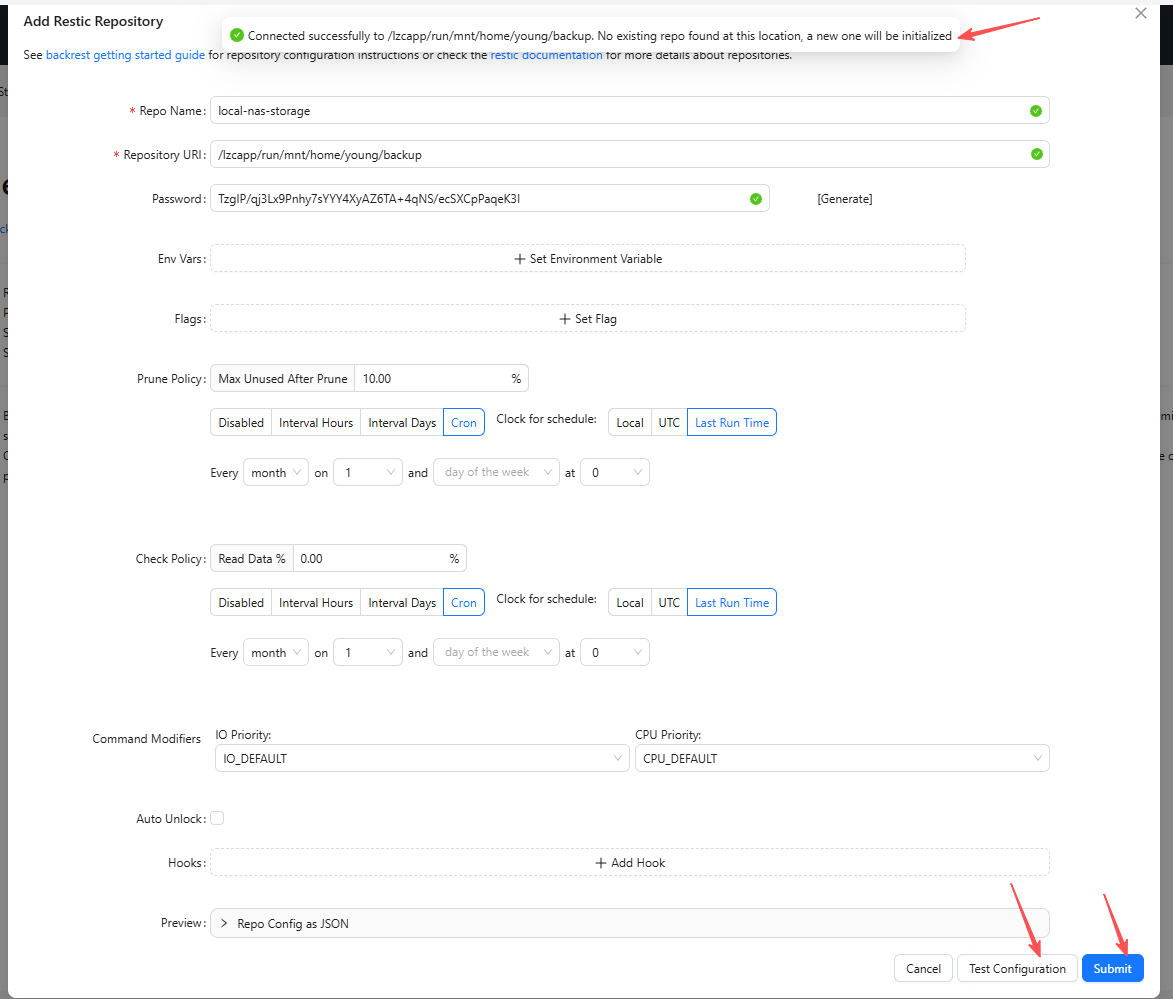
Step 2: Create a Backup Plan
Click "Add Plan" to create a backup plan:
Plan Name: For example, "server-data-daily"
Repository: Select the repository you just created
Paths: Add the folders to be backed up
Schedule: Set the backup time
Cron Clock Settings:
(x) Local (Recommended): Runs according to your server's local time zone.
( ) UTC: Runs according to Coordinated Universal Time.
Cron Expression: Enter the Cron expression in the input box below. Your current default setting, Every 1 hour at 0 minute(s), is means running once on the hour.
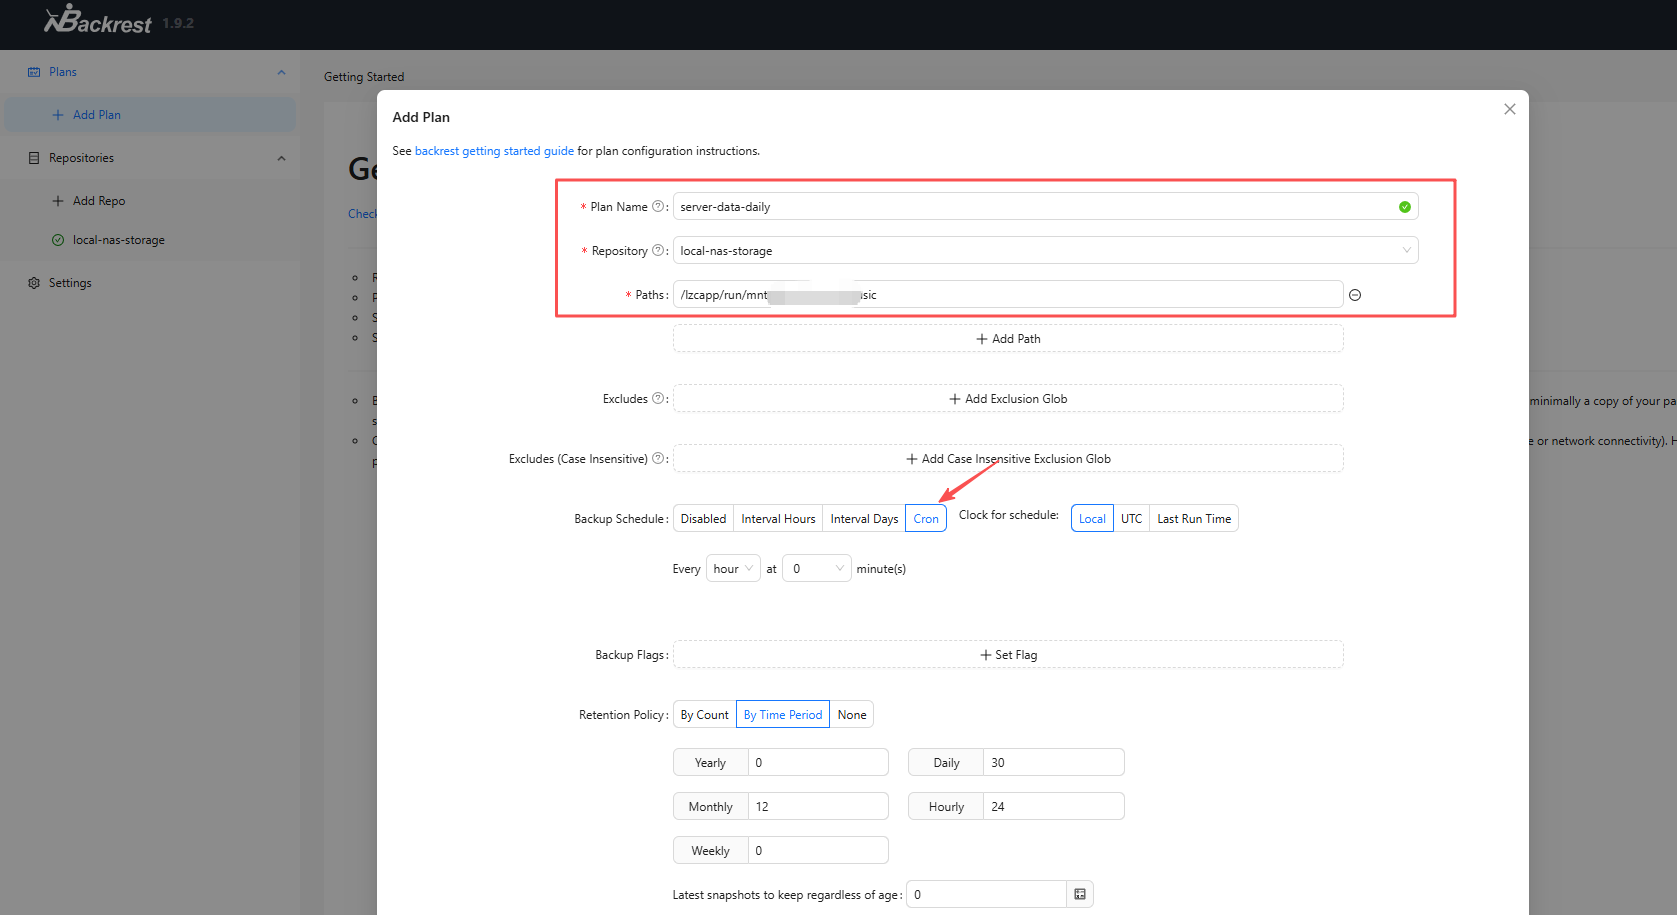
Step 3: Set Retention Policy
This is very important! It determines how long backups are kept, ensuring your storage space isn't consumed by endlessly growing backups:
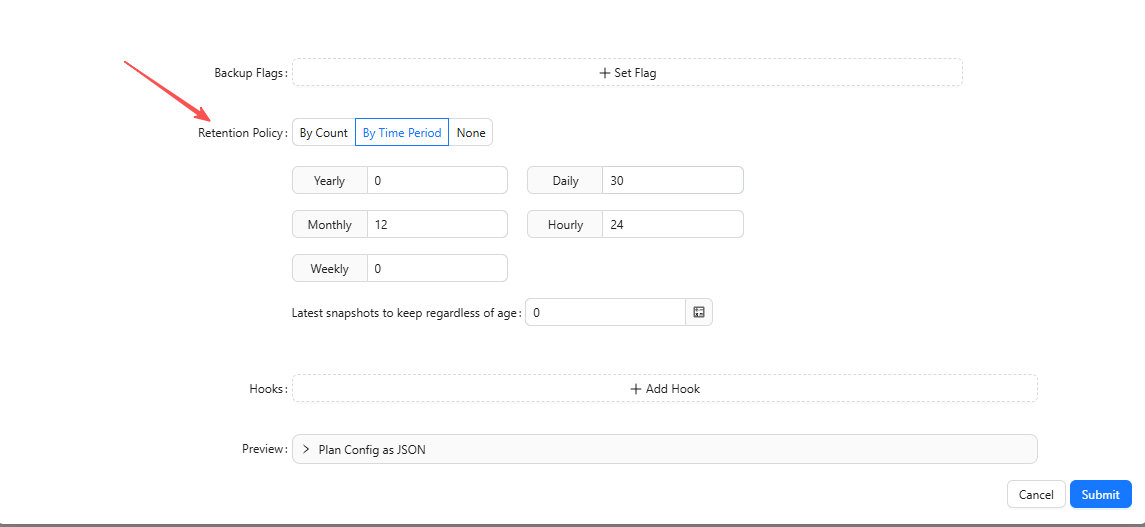
Retention Policy Recommendations:
-Hourly: 24 (Retain hourly backups from the last 24 hours)
-Daily: 30 (Retain daily backups from the last 30 days)
-Weekly: 8 (Retain weekly backups from the last 8 weeks)
-Monthly: 12 (Retain monthly backups from the last 12 months)
-Yearly: 3 (Retain annual backups from the last 3 years)
Execute scripts before and after backup
Want to shut down the database before backup? Send a notification after backup? You can use Hooks to configure external actions (such as sending emails, calling webhooks, or running scripts) upon backup success, failure, or start/end.
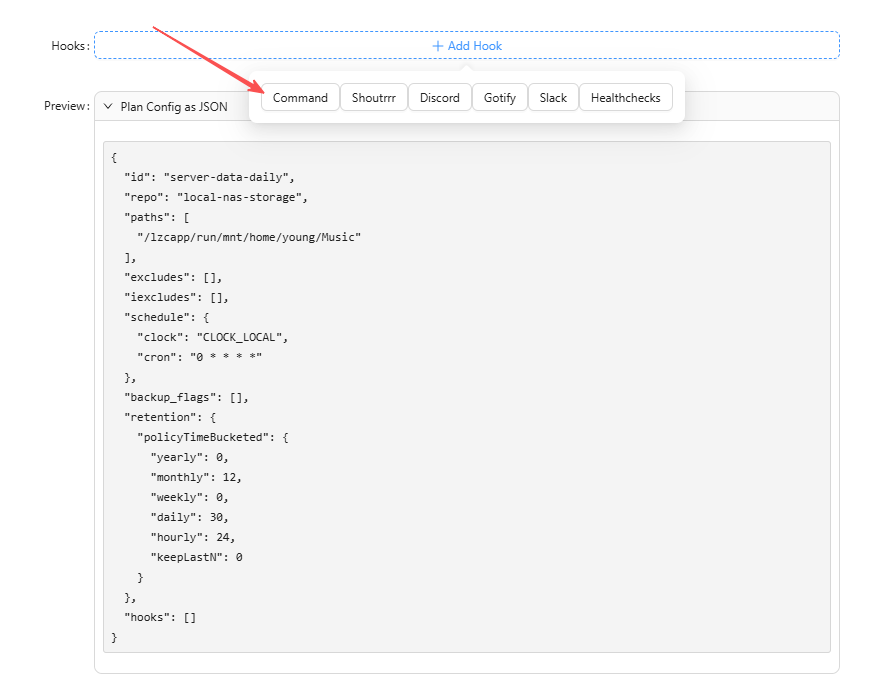
Example script before backup (Windows):
@echo off
echo Starting backup, stopping database...
net stop mysql
Notification script after backup(Linux/Mac):
#!/bin/bash
curl -X POST https://api.telegram.org/botyourTOKEN/sendMessage
-d chat_id= your ID
-d text="Backup complete!"
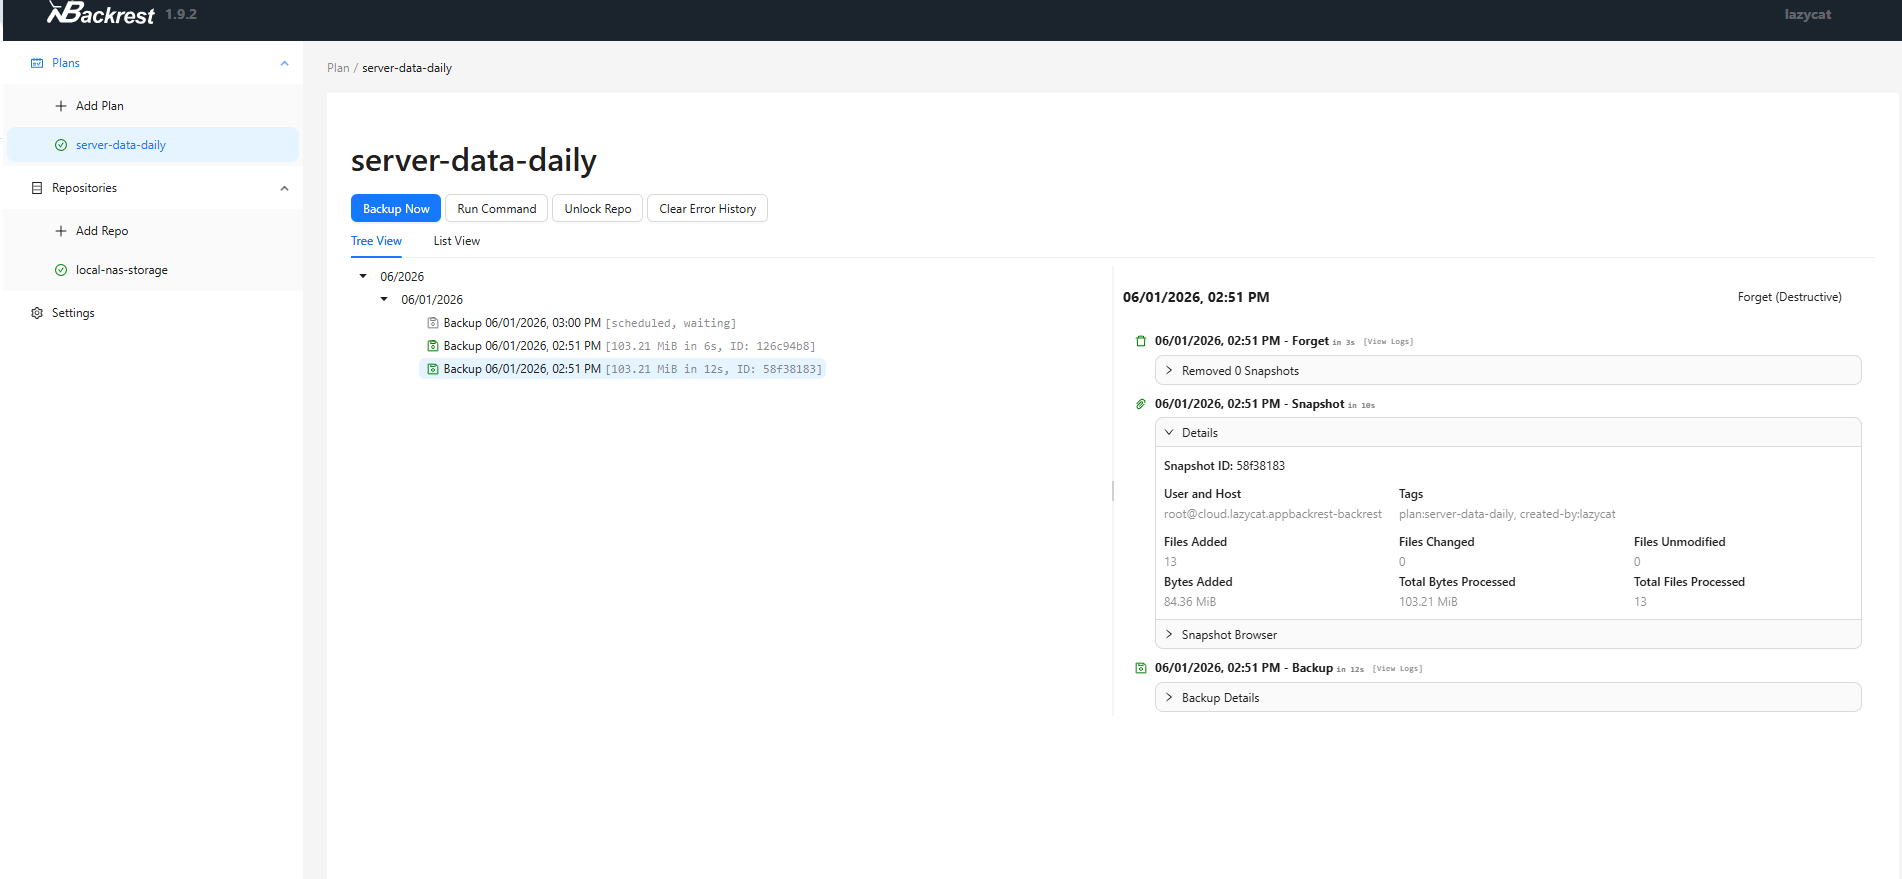
Once configured, you'll see the backup trigger automatically right on schedule.
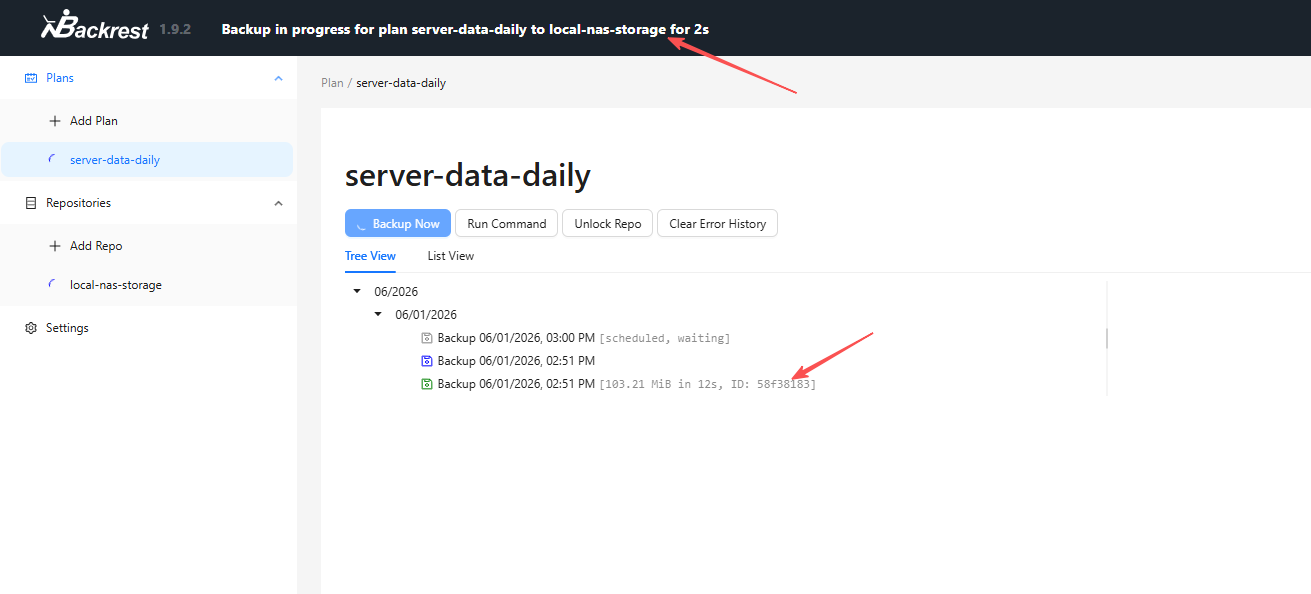
Click the plan and you can see the details.
3. Conclusion
Backrest makes complex Restic incredibly user-friendly. Whether you're a beginner or an expert, you can quickly get started. Most importantly, it makes the tedious but crucial task of backups simple and reliable.
Try it now, or you'll regret it when your hard drive fails!